Access strategies: SAML
To set up an SAML access strategy in Jinkō, you'll first need to configure the corresponding credentials from the SAML solution you are using. This article demonstrate this process using Google Workspace as an example, but the steps are similar for other SAML providers. August 2025
An illustration of SAML configuration, with Google Workspace
You can for instance configure a SAML connection using Google Workspace, which allows refined control over authentication.
Set Up a Custom SAML App
- In Google Admin Console, go to:
Apps → Web and mobile apps - Click Add Custom SAML App
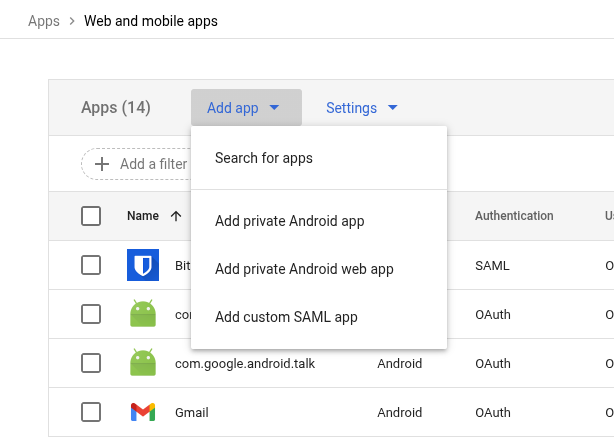
Create a custom SAML app
- Name your app, then click Continue
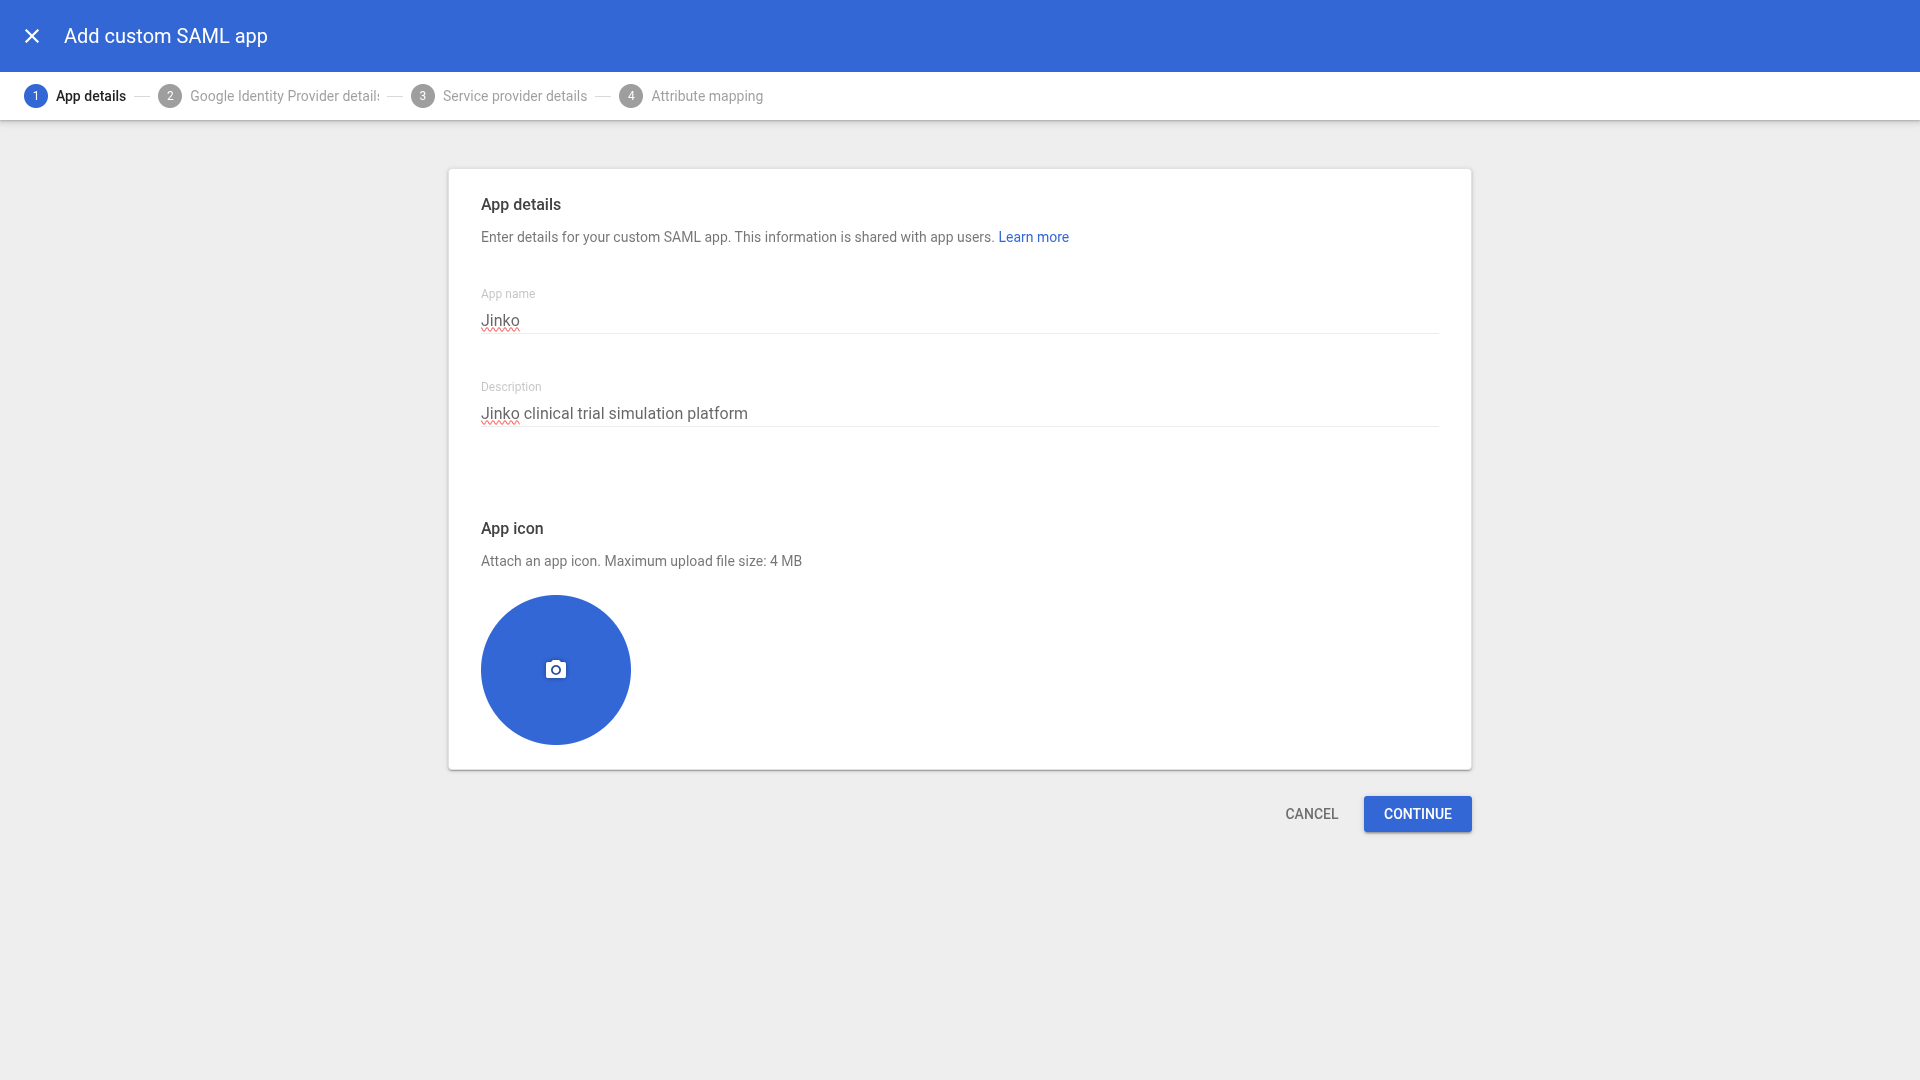
Create a custom SAML app
On the next screen, you’ll see the SAML metadata. Keep this window open—you’ll need this information when setting up the strategy in Jinkō.
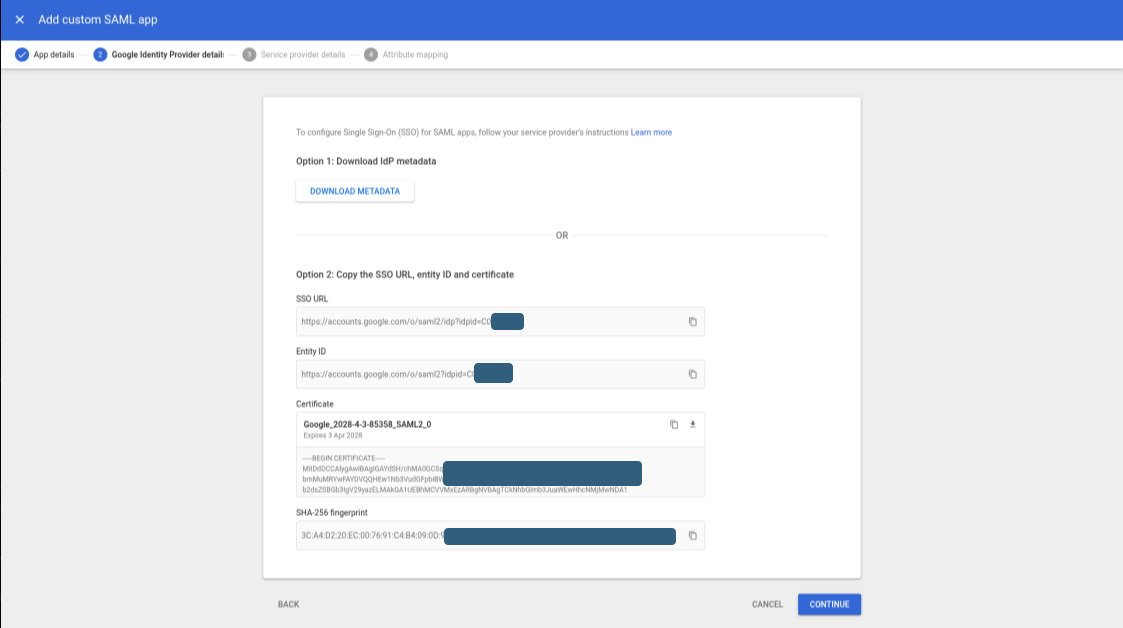
Create a custom SAML app
Configure SAML in Jinkō
- Open Organization Settings → Access Settings
- Click Add Strategy, and select SAML
- Fill in the fields using the metadata from Google Workspace
- Click Save Strategy
- A documentation link will be displayed to guide your next steps
Finalize in Google Workspace
Return to the Admin Console:
- Click Continue, and inform the ACS URL and Entity ID as provided by Jinkō.
- ACS URL:
https://nova-prod.eu.auth0.com/login/callback - Entity ID:
https://nova-prod.eu.auth0.com/
- ACS URL:

Create a custom SAML app
- Click Continue again, and finalize the mapping.
- ACS URL:
https://nova-prod.eu.auth0.com/login/callback - Entity ID:
https://nova-prod.eu.auth0.com/
- ACS URL:
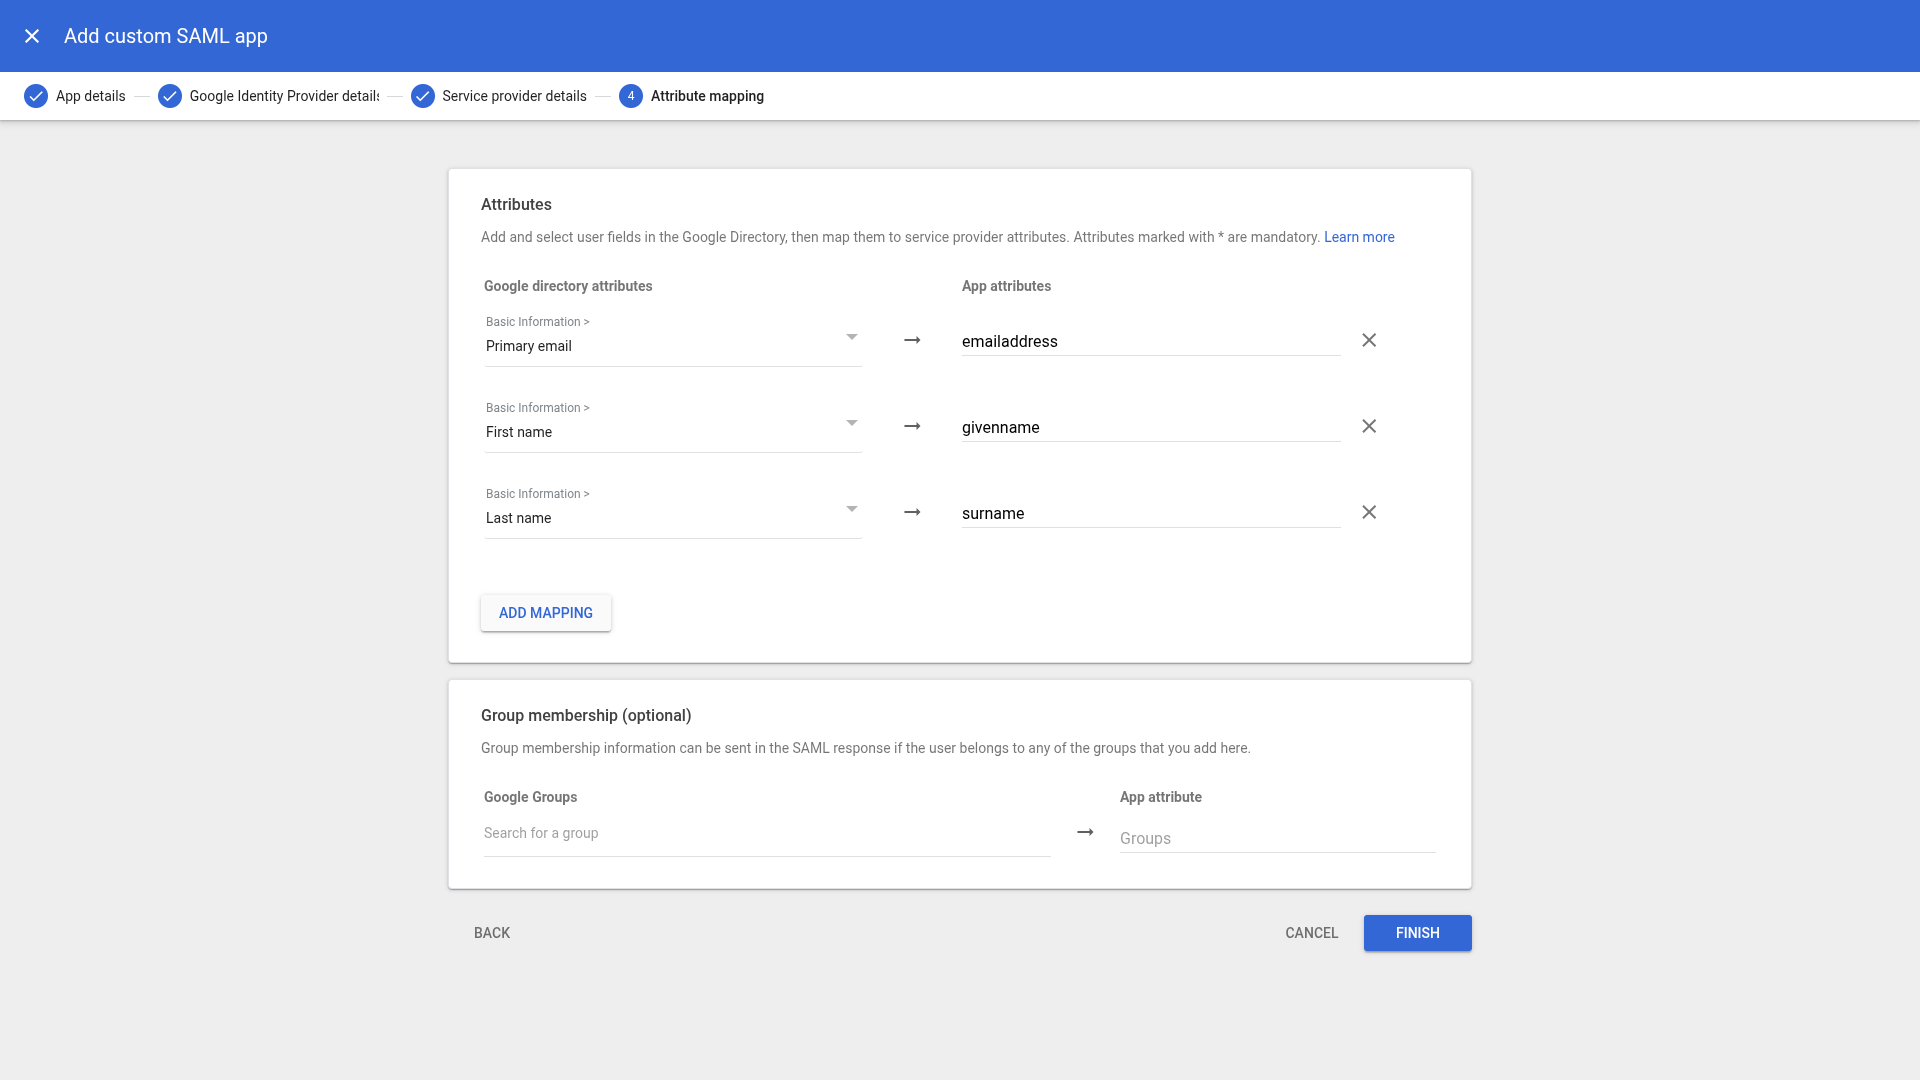
Create a custom SAML app
- Click Finish to save your custom app
Now, enable user access:
- Click into the newly created app
- Open the User Access section
- Enable the app for the desired user groups
Once enabled, your SAML-based login strategy is active for the selected users. They can now log in to Jinkō using their SAML credentials.
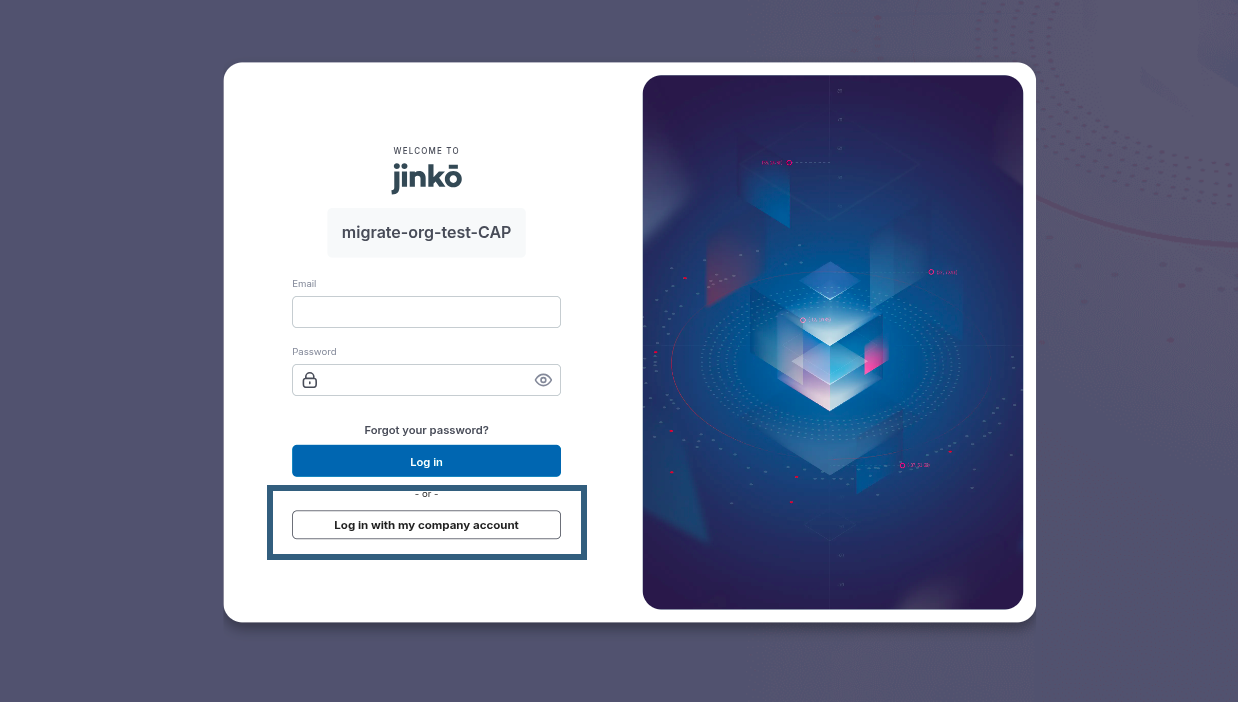
Your users can now log in to Jinkō using their SAML credentials.